I just learned how to make this gorgeous hair bow & thought I'd share :)

First cut 3 circles of silk each slightly bigger than the other. Then cut 6 slits almost to the center to create 6 petals. Then shape the petals by cutting the corners off each petal. It'll look kind of square & definitely doesn't need to be symmetric.

Now cut 6 strips of tulle a bit longer than the length of the silk circles & tie 3 of them together like below:

Then burn the edges of all of the silk flowers to look like this:

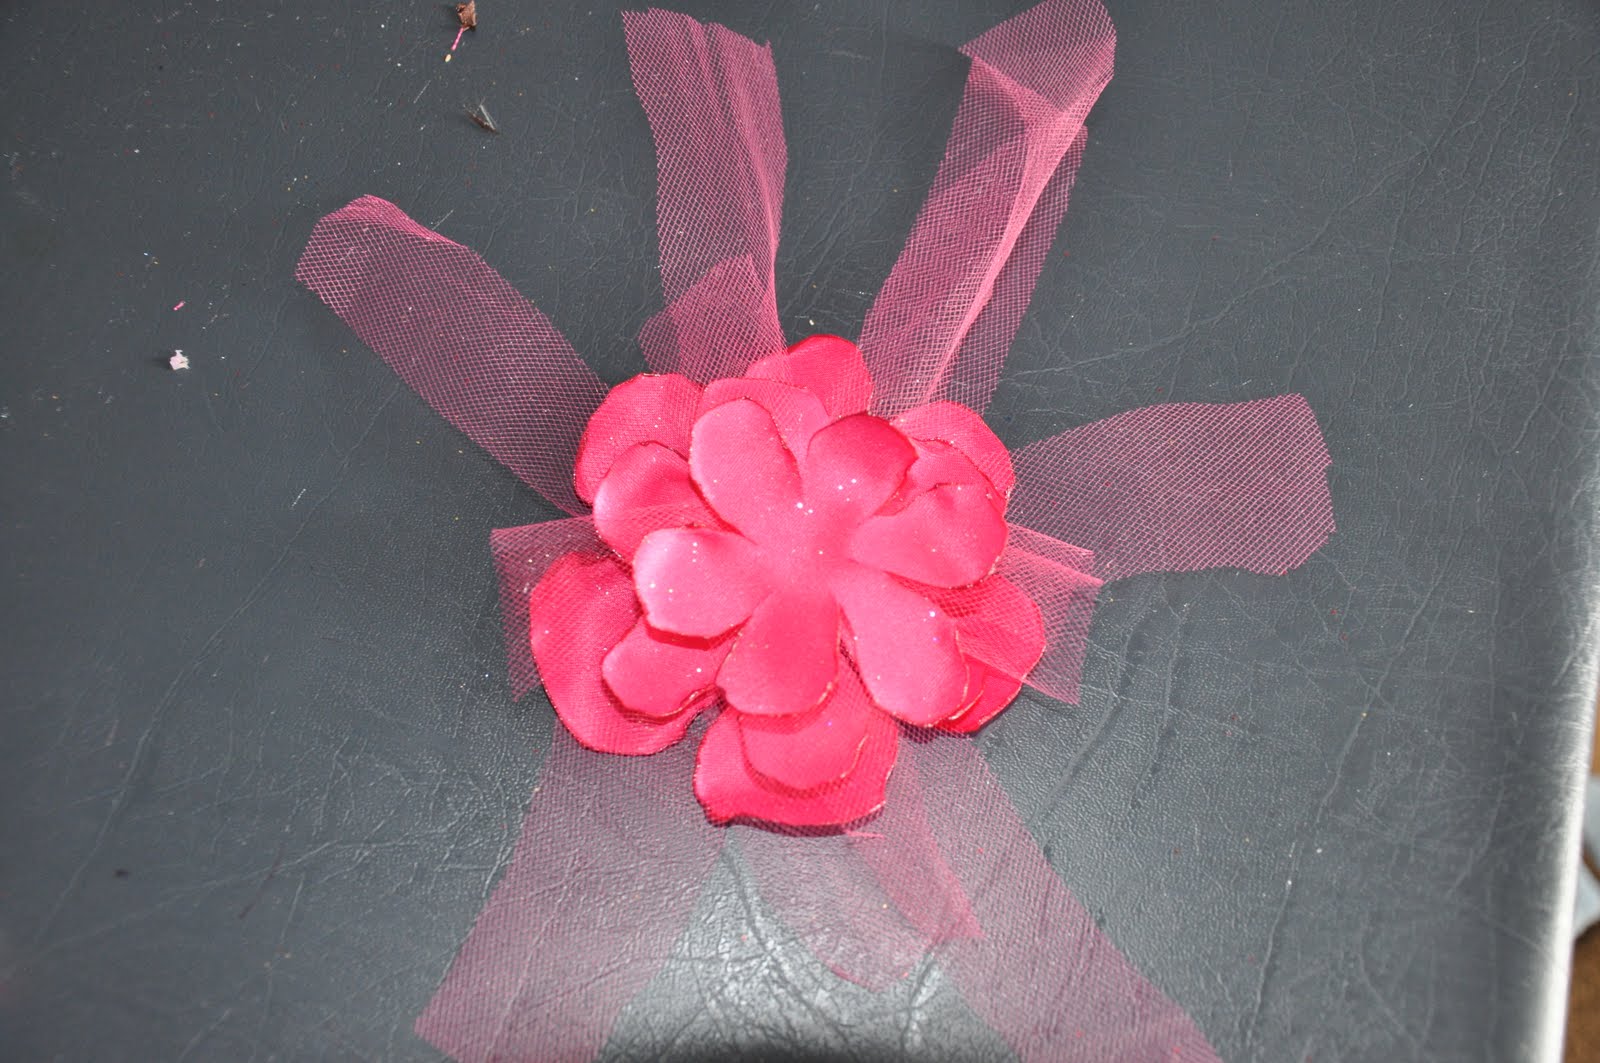
Now Layer them biggest silk, tulle, middle silk, tulle, & smallest silk. You can either hot glue or sew them into place. I just used hot glue. Then trim the tulle down to just longer than the silk & burn just the tips.

Add some pearls in the middle & you are done! I can't wait to make a bunch more colors! Here are the few I've done so far: (the purple one is just round circles layered on top of each other with tulle & silk)


.jpg)


 Little closer view:
  Yummy pink candies.. also did mini tissue poms. I was going to use them as napkin rings, but then I liked the flowers better.
  Blinged out everything I could... vases, pots, placetags, & even the silverwear
  I added some bling to her pacifiers. Hopefully it helps Tommy know it isn't his!
 My gorgeous friends :) Shelly, Brittany, Wendy, Erin, me, Anna
  And after lunch we made LOTS of bows! Check out all my new bows. I made them with baby in mind, but I'm sure I'll be wearing my fair share of them too!
  My favorite were the most time consuming of course... check out the post below to see a tutorial on how to make those :)